Overview
Updated 02/01/2022
Some jobs may have expenses that need to be tracked. Expenses are turned on and off for each job. There is also the ability to choose from 'Paid and Billed' or 'Paid Not Billed' options.
Note: To use the Expense Reports, this feature would need to be activated. Please reach out to your Account Manager for additional information.
Activate Expenses on a Job
Activate Expenses on Talent
Activate Expenses on a Job
Search for the Job you would like to activate the Expenses for.
- Go to the Job that you want to add the Additional Transactions to.
- Go the Operations & Financials Widget
- Click on the Edit icon
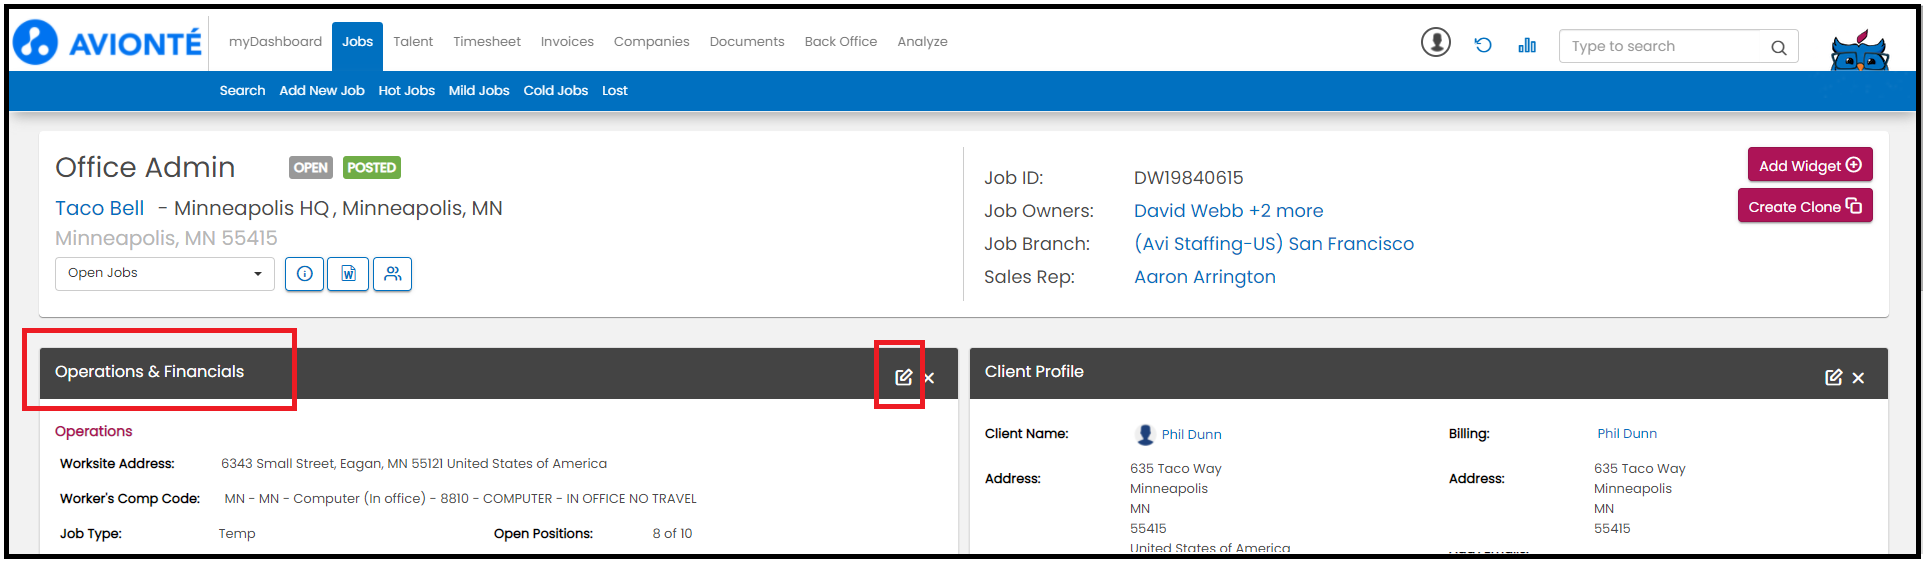
- Scroll to the bottom of the Widget
- There are 3 options to select from for the Expenses field
- None
- Paid and Billed
- Paid Not Billed
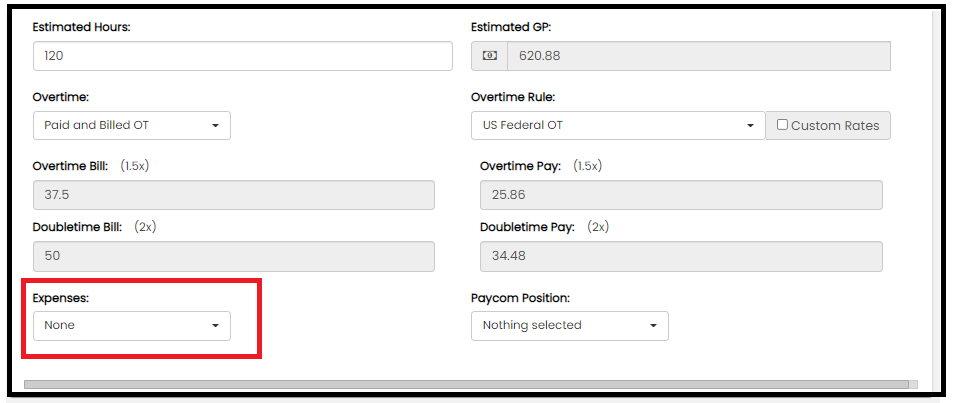
- Select the appropriate type of Expense
- Click Save icon
Example: I selected 'Paid and Billed'
- Click on the Save icon

Activate Expenses on Talent
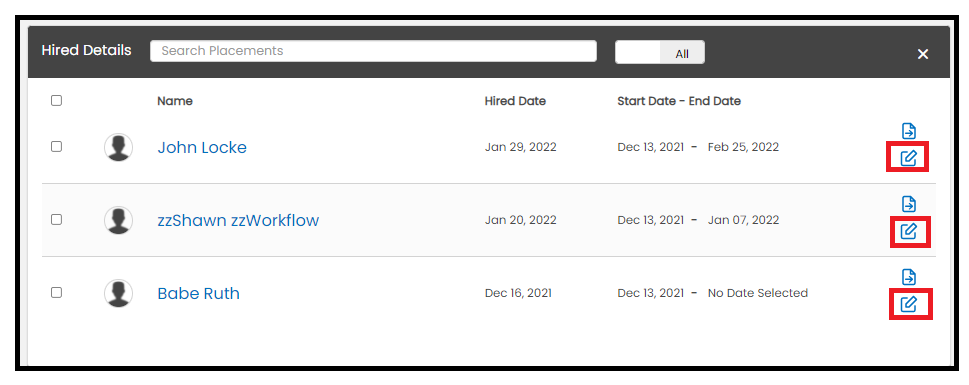
- Go to the Job that you want to add the Additional Transactions to.
- Click the Edit icon next to the Talent
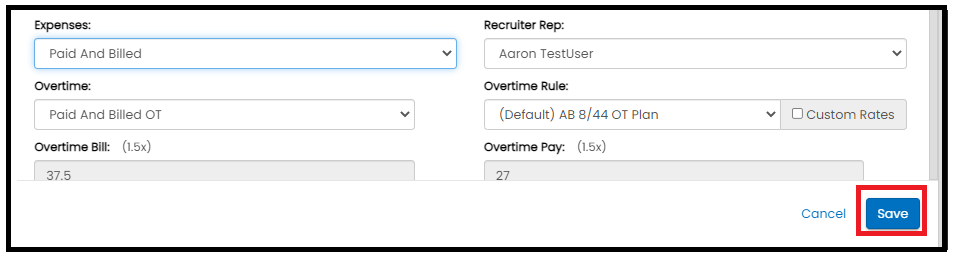
- Select an option for the Expenses
- No Expenses: The Talent will not have the ability to submit Expenses
- Paid and Billed: The Talent will be able to submit Expenses (it will be billed).
- Paid Not Billed: The Talent will be able to submit Expenses (it will not be billed).
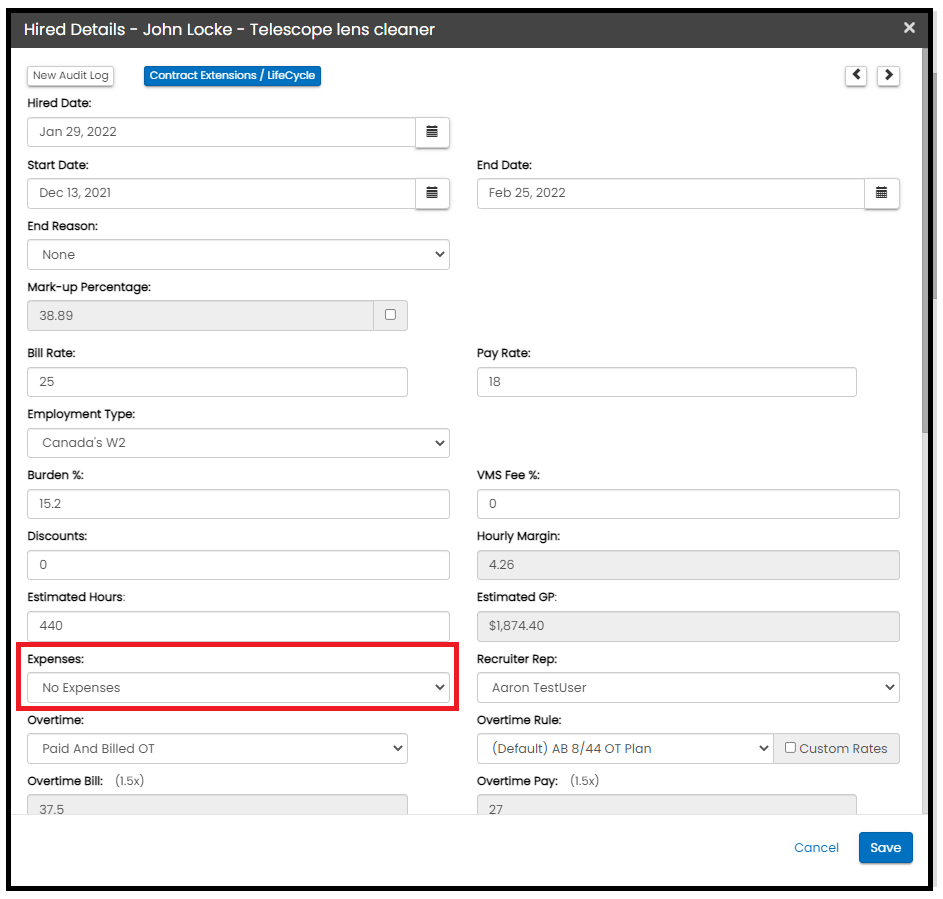
- Click on the Save button
Comments
0 commentsPlease sign in to leave a comment.